Razorpay and Pega
Integration
Step 1 : Sign
up at https://razorpay.com and login to the Razor pay dashboard to get api credentials
Create a Razorpay account.
1. Create a Order for your payment :
- Create a authentication profile in Pega with type as
Basic ( User credentials based Auth)
-
Username : Razorpay api key
-
Set Password – Razorpay api secret
o Create a REST Integration :
- Configure -> Integration -> Connectors -> Create
REST Integration
- Endpoint URL : https://api.razorpay.com/v1/orders
- + Authentication : Choose your Auth profile your created and
click on next
- Click on POST method
- + Add Rest Response and add the following in the body of
request
{
"amount": 700000,
"currency": "INR",
"receipt": "Sam"
}
- Click on Submit , choose the class path and choose create
new datapage as we will use the datapage to invoke the connector
2.
Checkout
Page Configuration
- Create a case type with the following fields to capture user
information
- Pay with Razorpay button is configured to these following
actions
- Create Order Activity :
1.
Use the
created datapage from the integration wizard, parameterize the amount, also
storing the order id created from datapage for the next connect rest
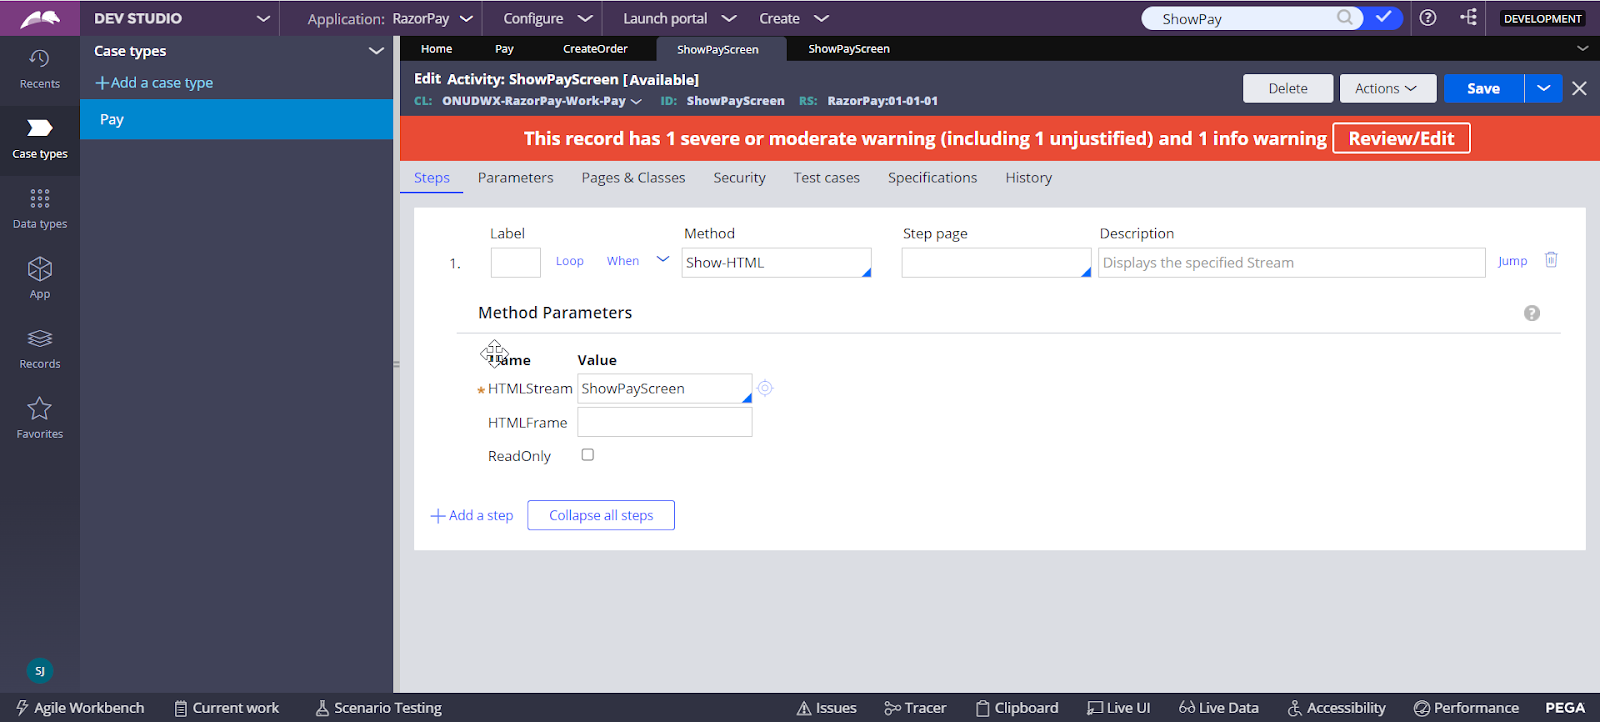
- ShowPayScreen Activity :
1.
Configuring
to show a HTML screen
2. Use
the below HTML with script tags :
<button id="rzp-button1" class="Strong
pzhc pzbutton";>Pay</button>
<script
src="https://checkout.razorpay.com/v1/checkout.js"></script>
<script>
var Name ='<%=
tools.findPage("pyWorkPage").getString("Name") %>';
var Email = '<%=
tools.findPage("pyWorkPage").getString("Email") %>';
var Contact =
'<%= tools.findPage("pyWorkPage").getString("Contact")
%>';
var Amount = '<%=
tools.findPage("pyWorkPage").getString("Amount") %>';
var OrderID =
'<%= tools.findPage("pyWorkPage").getString("OrderID")
%>';
var options = {
"key":
"Enter-Your-Key", // Enter the Key ID generated from the Dashboard
"amount": Amount, // Amount is in currency subunits. Default
currency is INR. Hence, 50000 refers to 50000 paise
"currency": "INR",
"name":Name,
"description": "Test Transaction",
"image":
"https://example.com/your_logo",
"order_id": OrderID, //This is a sample Order ID. Pass the
`id` obtained in the response of Step 1
"callback_url":
"https://eneqd3r9zrjok.x.pipedream.net/",
/*
"handler": function (response){
alert(response.razorpay_payment_id);
alert(response.razorpay_order_id);
alert(response.razorpay_signature)
},*/
"prefill": {
"name": Name,
"email": Email,
"contact":Contact
},
"notes":
{
"address": "Razorpay Corporate Office"
},
"theme":
{
"color": "#3399cc"
}
};
var rzp1 = new Razorpay(options);
/*rzp1.on('payment.failed', function (response){
alert(response.error.code);
alert(response.error.description);
alert(response.error.source);
alert(response.error.step);
alert(response.error.reason);
alert(response.error.metadata.order_id);
alert(response.error.metadata.payment_id);
});*/
document.getElementById('rzp-button1').onclick =
function(e){
rzp1.open();
e.preventDefault();
}
</script>
***********************************************************************************
Explanation : Make
sure you have the Name, Email, Contact, Amount, OrderID in your pyWorkPage
Success of payment --- callback url to a success page
Failure of payment --- User is shown payment fail and asked
to retry
In “key” use the api key from your razorpay account
Run the case and click on Pay with Razorpay to check payment process.


1) From where did you get that button-ID = rzp-button1 2) Can you explain what is being done in the custom HTML/JS code
ReplyDelete
ReplyDeleteThanks for sharing this valuable article. I’ve been researching online payment solutions for my business, and your breakdown really helped. Choosing the right payment gateway is so important for both user experience and security. I appreciate how you explained the pros and cons of each option – it made things much clearer. Keep up the great work!